DIY Bedroom Makeover Tips
FREE DOWNLOAD
Don’t have time to read the whole guide?
How about a copy to-go? Just fill out this quick form and read the guide when it's convenient for you.
Looking to spruce up your bedroom but don’t know where to start? We’re here to help!
Whether you need ideas to inspire your new space or tips to create more storage, rip out carpet, paint walls, or refurbish furniture, read on to learn how to turn your current bedroom into a dreamy space you will enjoy returning to every day to rest and recharge.
You can do this, no matter your budget or favorite style. With some ingenuity and a little muscle, you don’t have to spend a fortune to replace everything—you can upcycle! Did you know that recycle means turning something used into something entirely new, whereas upcycle means giving new life to an object? You can give an item a new purpose and/or give it a new look. And we’re not just talking refurbished furniture.
So think of your DIY bedroom makeover as an upcycling project extraordinaire.
You can go crazy and get all the work done in a weekend, or you can take it one step at a time—though once you get started you’ll probably be even more inspired to finish quickly and start enjoying your fabulous new bedroom!
In this video, Twin Cities ReStore’s Jan Hagerman explains what you’ll need in the ways of tools and supplies to get started.
Chapter 1: Start Fresh
Declutter to get down to the basics. First, clean out that closet! And be merciless,—you’re making room for a makeover here. Is there clothing you haven’t worn in the last two years? This is a good place to start filling that donation bin. What else is in your bedroom closet? Is there somewhere else things could be stored, or are there items in there that can be passed on to another home for better use?
Don’t stop at the closet; now is the time to honestly assess everything in your bedroom. Look around with fresh eyes. Does the space feel comfortable and inviting? Are there aspects of the room or specific items you really, truly love? You’ll want to keep those. What do you dislike or want to change? You can upcycle almost anything, but it might be time to replace some items instead.
Consider Your Goals
Why does your bedroom need a makeover?
-
It’s looking tired or outdated
-
You want a more relaxing space
-
You’re ready for a change of scenery
-
It’s time for a coordinated, comfy space that reflects your personality
Bedrooms are already different from other rooms in your house, and they’re also different depending on who’s sleeping there. Kids grow fast and their preferences evolve, so you’ll want to focus on inexpensive, easy-to-change elements. A guest bedroom may serve multiple purposes. For your master bedroom, however, the goal is typically a space that feels like a welcoming sanctuary.


Chapter 2: Walls and Floors
Structural elements define the space and set the stage for your makeover. So think about colors. Color affects your mood, and we all have personal preferences. Lighter colors are calming and make a space appear larger; darker colors can make a room feel smaller but also cozier (or more elegant). Bright, bold colors can be fun but they are not restful, so for a bedroom, they are usually better suited to accents such as accessories, a wooly throw, or a comfy reading chair.
High-quality, inexpensive paint is always something you can pick up at ReStore. And when you're done, you can recycle your leftover paint at ReStore, too.
Walls
Painting the walls is one of the easiest and most budget-friendly ways to dramatically change the look of your bedroom.
A single color can make your room feel small and stifling, like a box, or welcoming. Accent walls add visual interest. You can use a lighter or darker shade of the same color, or a contrasting color (or even a pattern). Paint the trim a contrasting color. And don’t forget the ceiling—it doesn’t have to be white! Try making it the same color as the walls (or a lighter shade of that color).
The tips in this video will help you paint like a pro.
While painting over old paint is pretty straightforward, dealing with unwanted texture on walls can be a much bigger challenge. But you can do it, even without endless, tedious scraping. Popcorn ceilings are another issue. They are made of asbestos, which is no longer allowed because it is toxic. You can remove it, but it’s far easier and safer to paint over it. There’s a special technique for that.
Of course, you don’t have to paint. Consider these other wall upgrade options:
-
Stencils are great for creating decorative trim or all-over patterns.
-
Peel-and-stick wallpaper is also fun and apartment-friendly, and it’s easy to change your mind. Use it on an entire wall to create wainscoting or trim.
-
Mirrors are both practical and decorative. They reflect light and make rooms feel larger. Hang an old frameless mirror and then build a frame around it. Look for second-hand mirrors with cool frames you can upcycle. Or look for interesting picture frames to refurbish, and add your own mirror.
Flooring
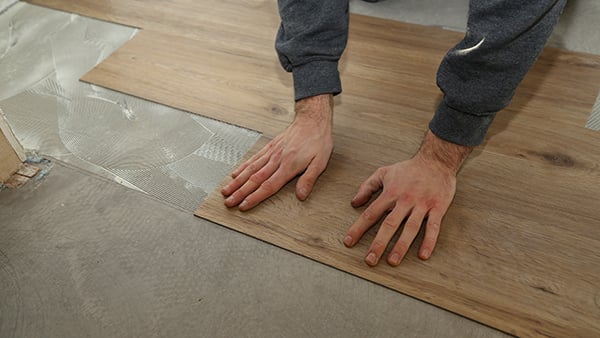
So many options! And like changing your wall color, new flooring can dramatically upgrade the look and feel of your bedroom. No worries about high foot traffic, moisture, etc., as this is typically not as much of a concern for a bedroom as it is for other parts of your home. Tearing out old, tired carpet is an energetic way to say goodbye to your ho-hum bedroom and get your DIY makeover underway.
New carpet would be quiet and cushy for bare feet, but vinyl plank flooring is an affordable, modern, easy-care option you can DIY. It comes in a wide range of looks, from timeless wood grain to faux tile or slate. Both Twin Cities ReStore locations carry plentiful supplies of certain vinyl plank styles.
If that doesn’t appeal to you, you can paint the floor instead! Certainly not if your old home has lovely hardwood—but paint can turn nothing-special wood floors into something truly unique and highly practical, once you add a varnish topcoat. You can go lighter or darker than the walls.
Patterned carpeting or a patterned paint job can turn your floor into the visual centerpiece of your bedroom. (Stick with neutral colors for walls and furnishings so they show off the floor rather than compete with it.) If that’s more of a statement than you want to make, area rugs are the perfect companions for hard-surface flooring – colorful and barefoot-friendly.
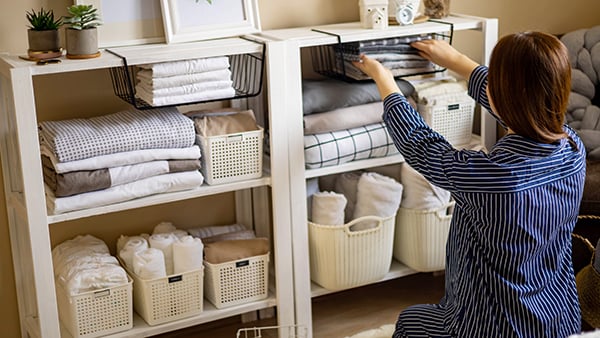
Chapter 3: Storage and Shelving
Closets are designed for hanging clothes, but customizing that space to meet your own needs is more efficient and may reduce the need for large dressers that take up valuable floor space. After all, you want your bedroom to feel comfortable, not cramped.
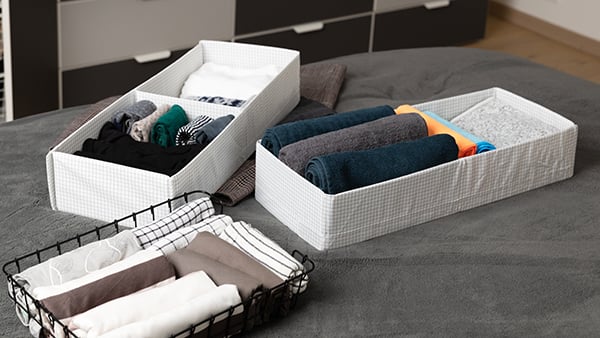
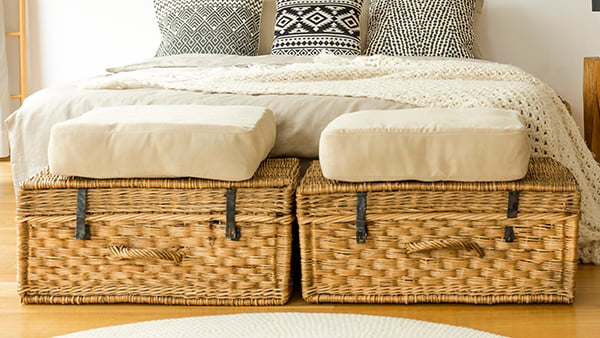
Inside the closet, add shelves, racks, and even drawers to hold clothes, towels, and/or bed linens. Hooks can hold everything from belts and scarves to ball caps, purses, and even jeans or jackets. Elsewhere in your bedroom, consider creative storage options such as:
-
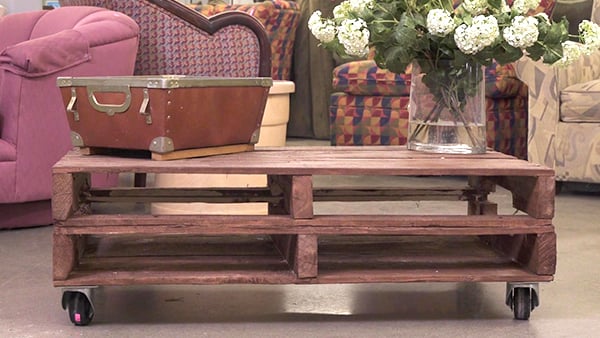
Under-bed storage for an easy-access option to make efficient use of space. You can DIY a platform bed with built-in drawers or repurpose drawers from an old dresser by adding wheels.
-
A coat rack in the corner (“hall” trees don’t have to live in your entryway).
-
An armoire to hide the TV and/or sound system and also store clothing or linens in the drawers.
-
Nightstands that have shelves and/or drawers. Or construct something funky from old suitcases or other storage containers.
You can look for shelving and storage units in second-hand stores and customize those items for your space, but you can also make your own from scratch. Besides adding in-closet shelving, you can:
Chapter 4: Refurbished Furniture
Refurbishing furniture is more than a way to economically upgrade your bedroom. You can learn new skills, save a usable item from the landfill, honor the craftsman who created a beautiful antique piece, and best of all, smile with pride every time you see and use the results of your work.
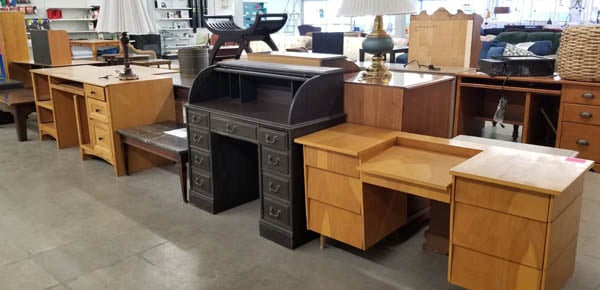
Not surprisingly, one of the biggest questions DIYers ask is how to update bedroom furniture. Sometimes all you need is a new coat of paint or some new drawer pulls to dramatically transform a dated piece. But perhaps your vision includes more sweeping changes. You can upcycle furniture and other items you already own or shop for new-to-you bargains to use as-is or refurbish.
That said, not every item is worth the effort. Skip it if the item is so badly damaged that it is unsafe and cannot easily be repaired, including deep scratches or burns that can’t be sanded away. Likewise, don’t waste time on something that is likely to fall apart or degrade quickly. Shop for used furniture that is higher quality in materials and workmanship.
Ready to Get Started?
When you’re ready to begin, first identify the type of wood, fabric, metal, or other material you’ll be working with. This will affect how you go about refurbishing it, but before you get to work, you will need to give each item a thorough—but appropriate—cleaning.
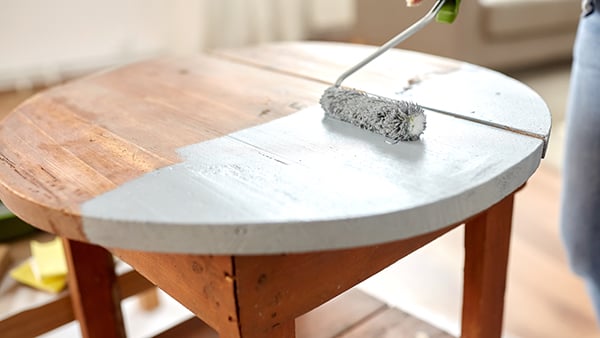
As with walls, painting is the simplest way to refresh furniture. If your bedroom is small, painting furniture to match the walls gives the illusion of built-ins and can visually enlarge the space. You can also stain wood furniture, simply to bring the beautiful wood back to life or to change the shade so it’s darker or lighter. You don’t have to make furniture look new—you can visually age it if you like the “lovingly used” or distressed look.
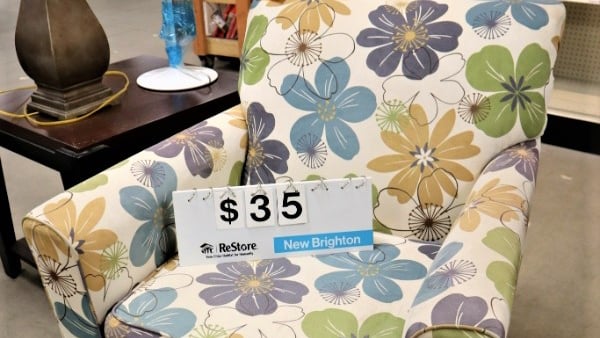
A comfy chair can add a lot to a bedroom corner, as a place to sit and don your socks and shoes, or as a spot to curl up and read. Choose a used chair for comfort and style, then reupholster it to match your new space.
Finishing Touches
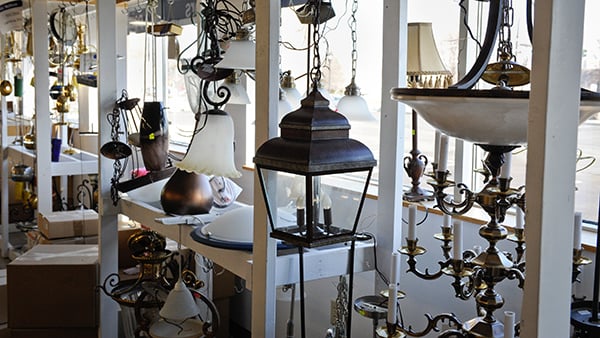
Details matter. Of course, your bedroom will include the mementos and other “keepers” you chose at the beginning of your project, but new accessories are a great way to brighten the space. You can spend less than $100 at ReStore or one of your other favorite thrift stores to add:

Chapter 5: Donate to Complete the (Up)Cycle
Local thrift stores are just filled with items to pull off your bedroom makeover, from furniture, flooring, paint, and supplies, to maybe a stylish accessory or two. To avoid missing out on any bargains or how-to tips from ReStore, sign up to receive Hot Deals emails to learn about new products and upcoming sales. (And/or become a ReStore VIP to receive text alerts. Simply text RESTOREVIP to 24365 to sign up.)
The best deal of all? Your bedroom makeover will be doubly perfect when you transform your vision into reality and then contribute no-longer-needed items and leftover supplies to ReStore (either our Minneapolis or New Brighton locations). We also provide free pickup service for residential and business donations. Read our ReStore Donation Guidelines before scheduling a pickup or dropping off your donation. Need a pickup within 48 hours? Schedule a Priority Pickup.
Remember, every time you shop at or donate to your local Twin Cities ReStore, you’re supporting Twin Cities Habitat's mission to create and preserve affordable housing for local families.
Sweet dreams.