 Jared Laabs
Get ready for great weather with this upcycled planting station
Guest blog by Rae Fleming, an independent blogger and DIY-er in Minnesota.I love to garden, but I hate rummaging around the garage for my supplies....
Guest blog by Rae Fleming, an independent blogger and DIYer in Minnesota.
Let's have a seat, rest, and catch up! It's been a busy summer for me: moving my folks to town, keeping up with baseball schedules, running to hockey clinics, a working teenager, starting a new job, and raising two teenagers. Even with everything going on, I'm thrilled to have partnered with Twin Cities Habitat for Humanity ReStore again on this SUPER easy DIY project! Nothing is quite as easy as reupholstering a simple chair, so I'm hoping you give it a try.
Keep reading to see the steps I took to make the transformation with a $5 chair found at the ReStore in New Brighton.

Chair
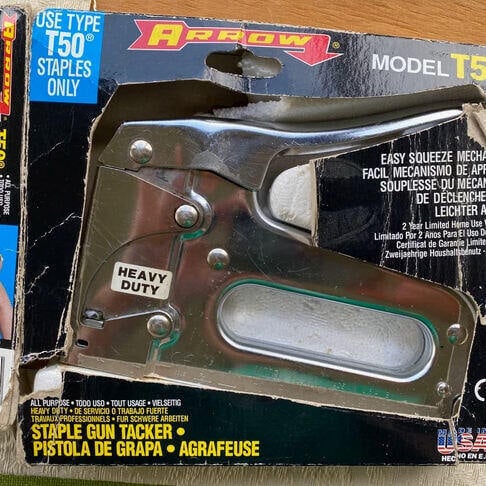
Staple gun (and staples)
New upholstery
Sandpaper (optional)
Stain/paint (optional)
Screwdriver
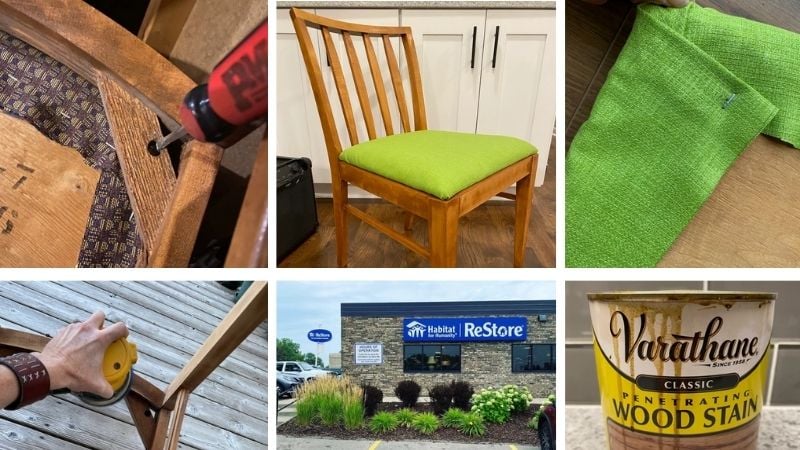
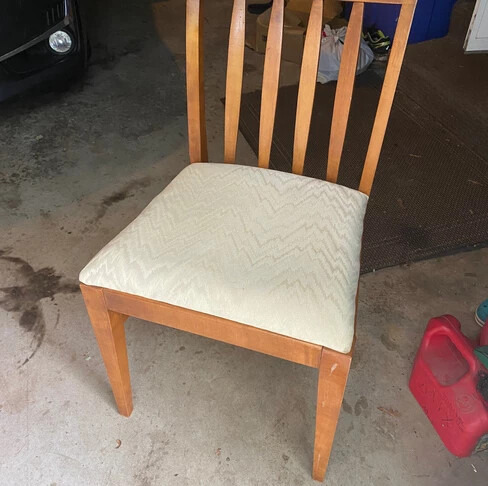
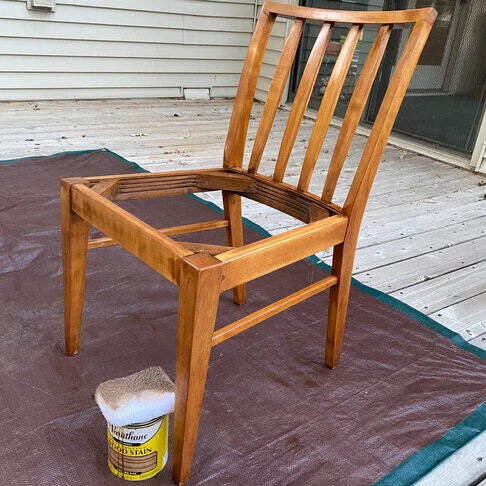
STEP 1: Find a chair you LOVE! Well, LOVE and needs a facelift! I LOVE this one from Restore, but it was perfect as is! The Restore has so many chairs to choose from, many sets as well as singles!


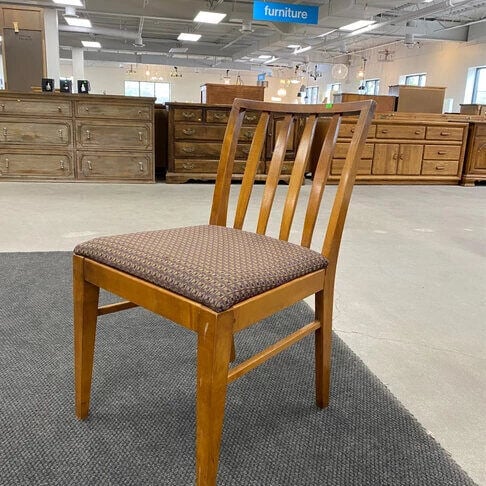
Here is the chair I decided to transform. It was only $5!!!
STEP 2: Separate the seat from the chair using a screwdriver.

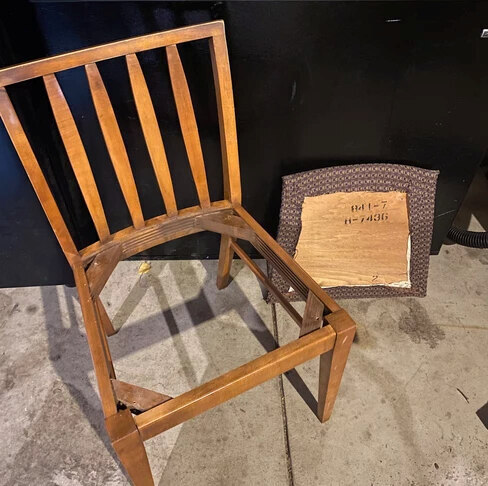
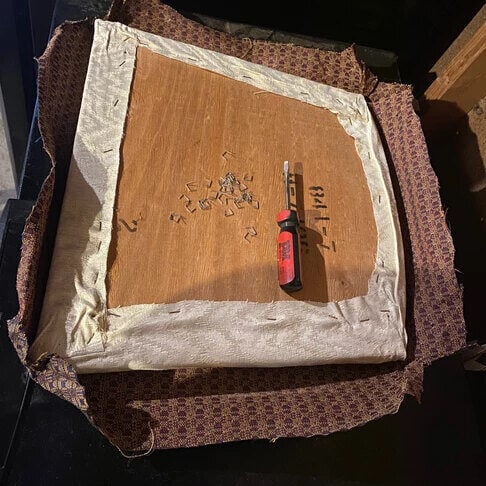
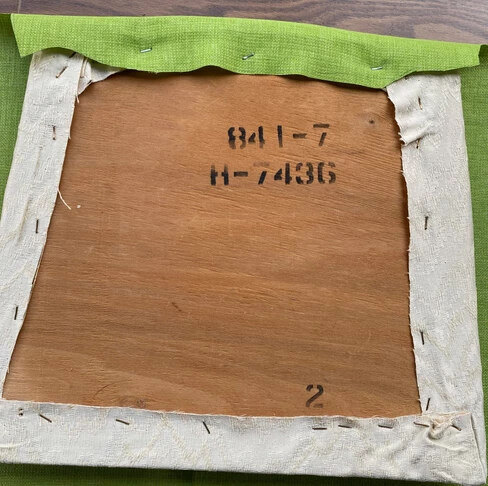
STEP 3: Remove the upholstery from the seat (a flat screwdriver works well to remove the staples). My seat just happened to reveal a nice, clean cream-colored upholstery. Not my vision for this DIY, however.
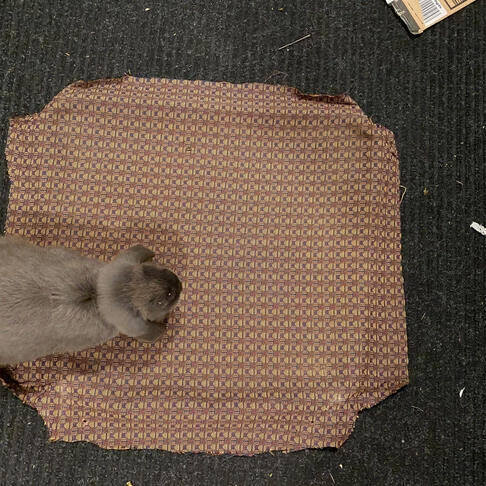
Mr. Witherspoon (aka Reese) was very curious about the buzzing project!
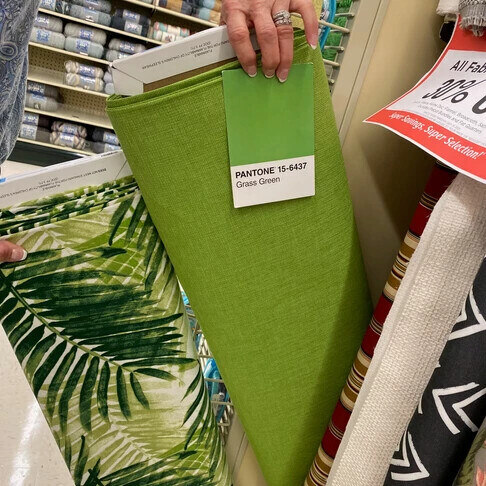
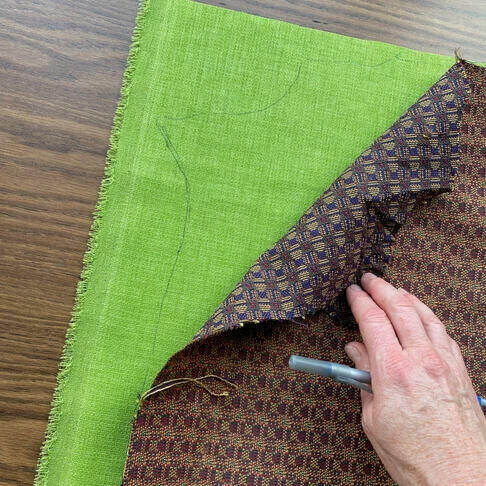
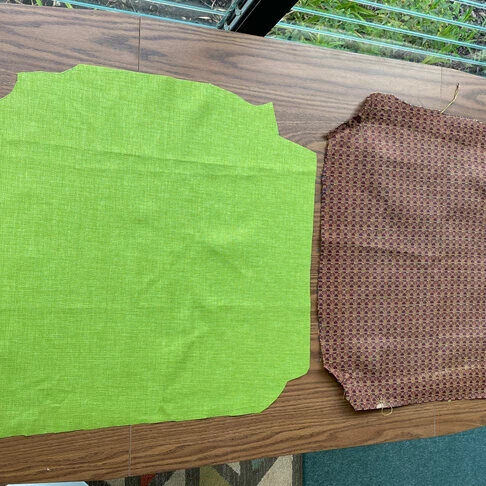
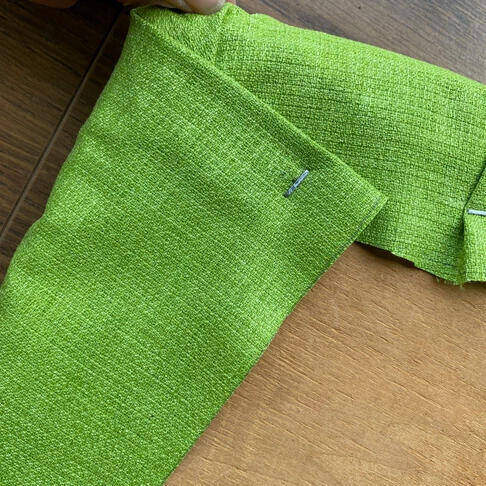
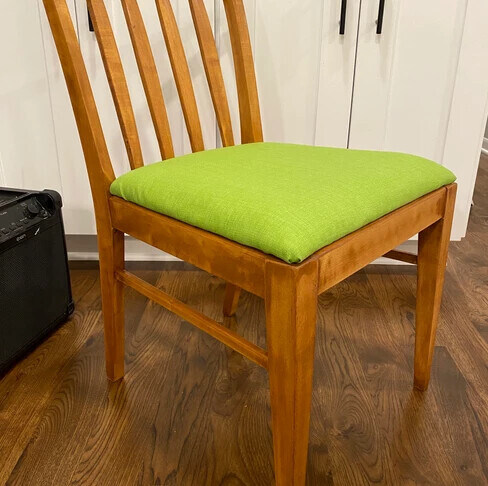
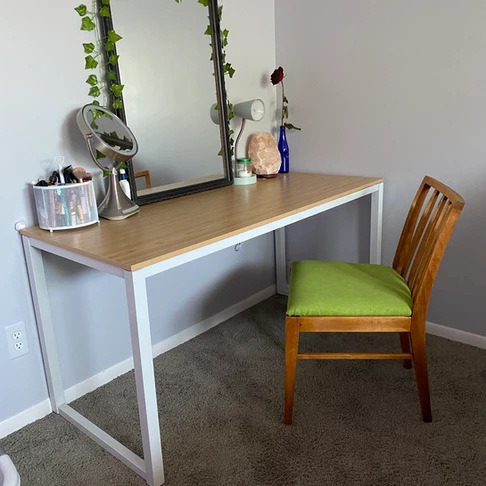
STEP 4: Buy enough fabric (duck cloth or upholstery fabric) to cover the seat. This chair will be for my daughter's desk - she wanted green....and she got it! Boom! I ended up getting a little less than a yard (on sale at Hobby Lobby). Use the old upholstery to guarantee you get enough.
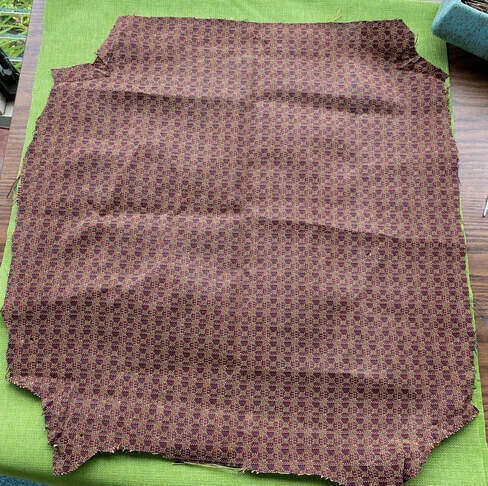
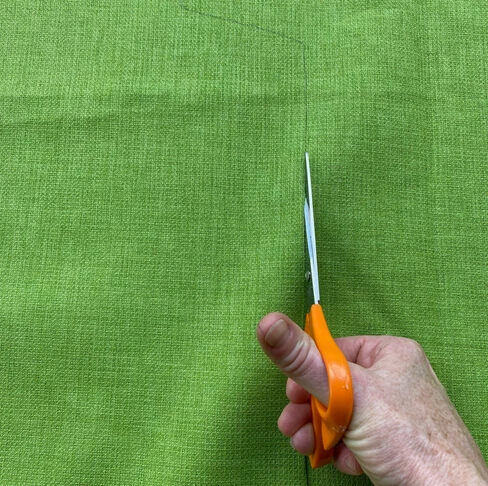
STEP 5: Trace the old fabric onto the new fabric and cut.
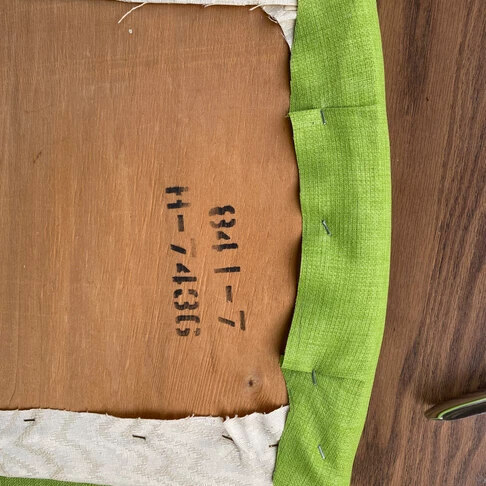
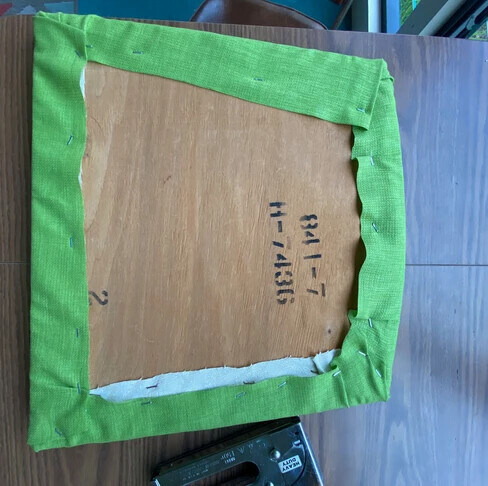
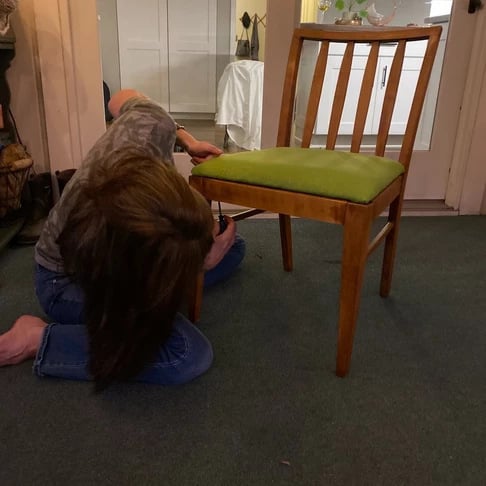
STEP 6: Lay the seat on the newly cut fabric and staple. Don't pull too tightly or it will make dents and pucker. Make folds and overlap as needed to prevent wrinkles and uneven upholstering. It's a bit like wrapping the corner of a gift. It takes a bit of trial and error at first. 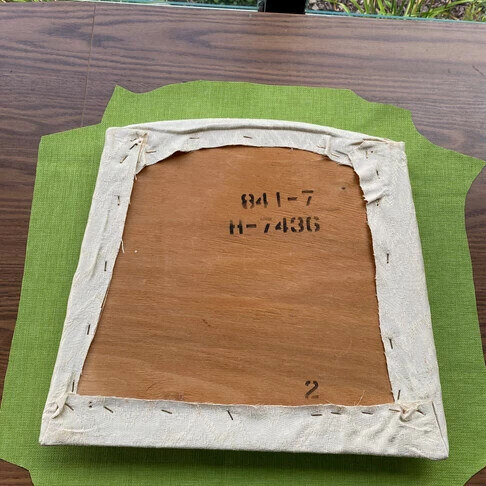
STEP 7 (Optional): Sand and/or clean the chair, before reattaching the seat. I used a sand block followed by an orbital sander to prepare mine (150 grit, followed by 220). I wasn't going for a terribly uniformed look - just something fresh and clean.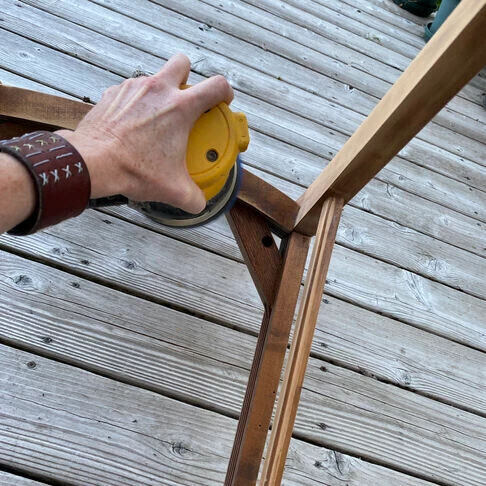
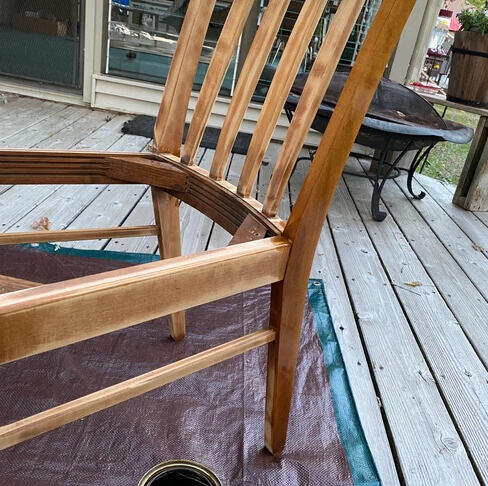
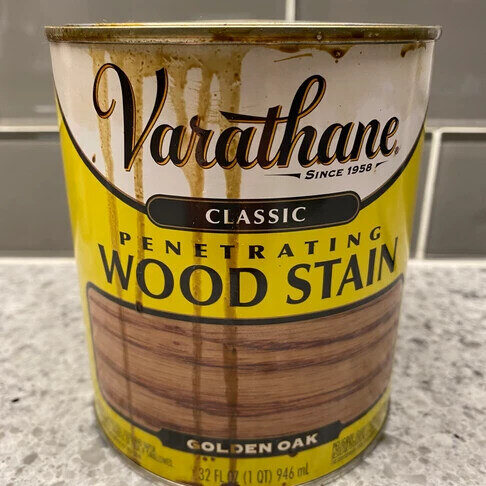
STEP 8: After the stain/paint dries, re-attach the seat with the original screws. That's it! Easiest DIY, people!! Get yourself to ReStore and give an old chair new life to sit down and rest on!
I'm looking forward to having the kids BACK at school and having a schedule. Maybe I'll have additional projects to tackle this fall. Enjoy the beautiful weather while you can and get to work on an outdoor project or two!
Feel free to comment below, join me on my own blog, Buzzing Scotch Lass, or connect on Instagram.
Get more ideas and follow ReStore on social media:


Your gift unlocks bright futures! Donate now to create, preserve, and promote affordable homeownership in the Twin Cities.

Guest blog by Rae Fleming, an independent blogger and DIY-er in Minnesota.I love to garden, but I hate rummaging around the garage for my supplies....

Backyard barbecues are a classic way to visit with family and friends. With COVID-19 still hanging around they are a great way to get together safely...

We've had several upcycle challenges but are thrilled to announce that this next one is for the birds! Unleash your creativity and build a birdhouse...