 Jared Laabs
Have a seat! Refresh an old chair with these simple steps
Guest blog by Rae Fleming, an independent blogger and DIYer in Minnesota. Let's have a seat, rest, and catch up! It's been a busy summer for me:...
Guest blog by Rae Fleming, an independent blogger and DIY-er in Minnesota.
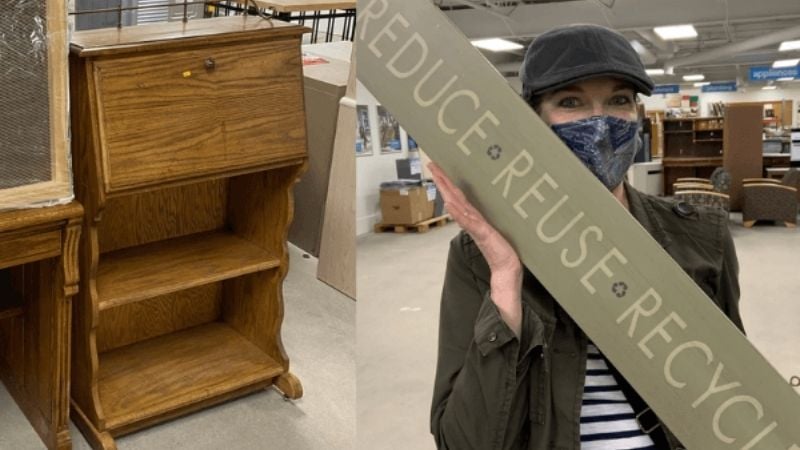
I love to garden, but I hate rummaging around the garage for my supplies. Pots here, soil there, tools everywhere! I wanted to create a station to park my tools and supplies that was easily, but discreetly accessible. Twin Cities Habitat for Humanity ReStore was the perfect place for inspiration. Enter the secretary desk. Two of my favorite things collide: writing and gardening! My partner in crime, Maria, was more than happy to explore the aisles of the ReStore for embellishments and adventure!

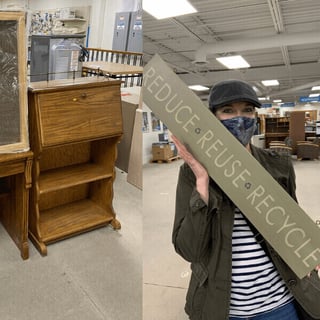
Rae (left) and shopping partner Maria (right) looking for items at the New Brighton ReStore.
Here's what you'll need to complete a similar project:
Secretary desk
Small wall shelf
Spray paint (4 cans)
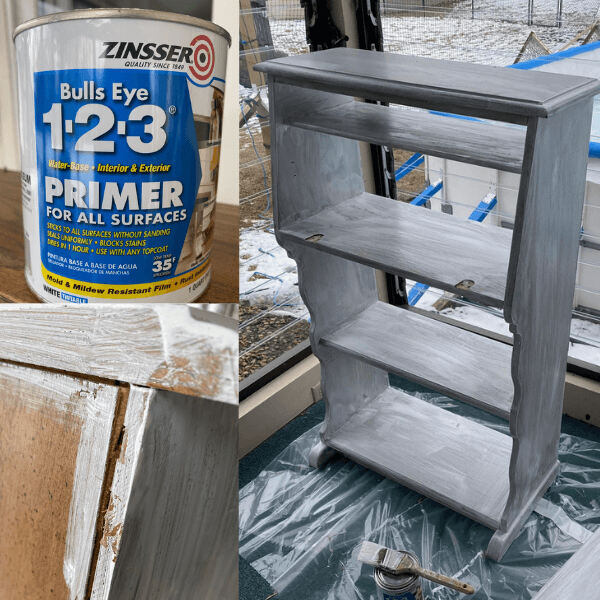
Primer
Wire baskets
Hooks or knobs
Brackets
Drill
Gorilla Glue
Stencil (optional)
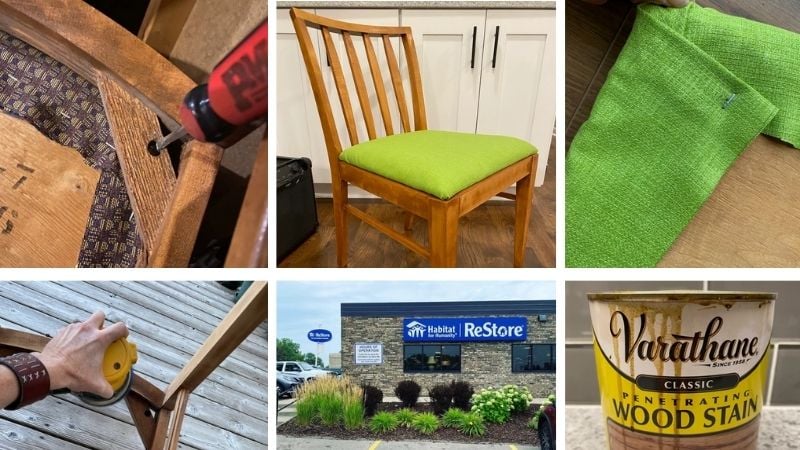
1. I started by removing the hardware from the desk, removing the shelves and hooks from the small shelf unit, and spackling the grooves left by the shelves.
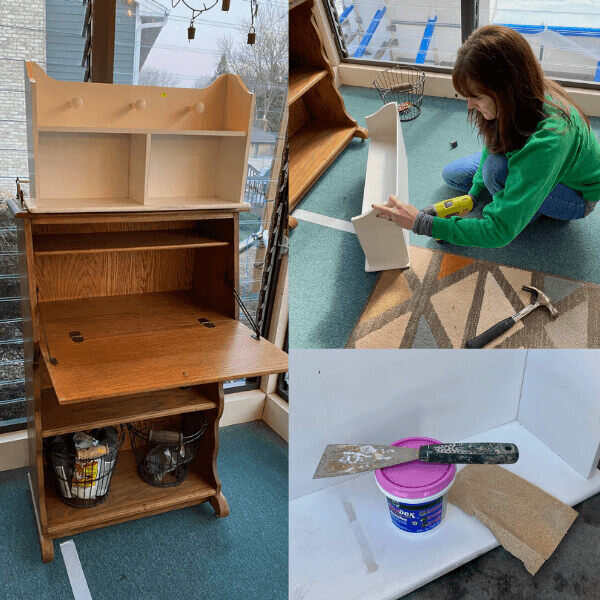
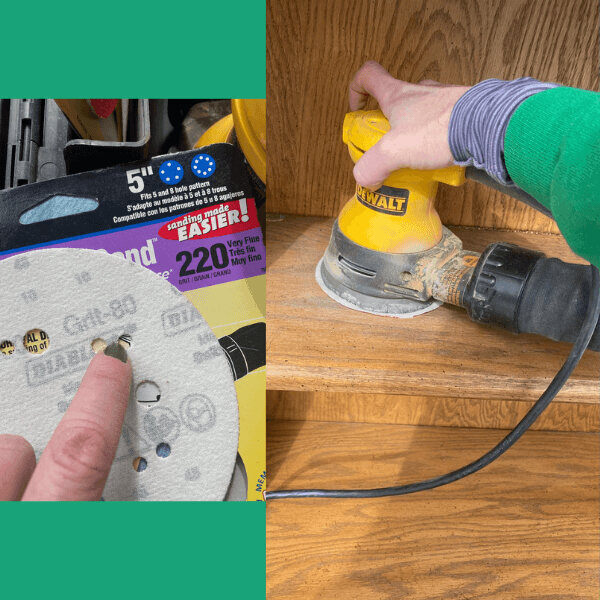
2. Then, I sanded the entire desk and shelf with 80 grit sandpaper and vacuumed up the dust. Do this step OUTSIDE if you can.
3. Next, I primed all pieces with Bulls Eye 123 Primer (depending on where you plan to put your upcycled piece, use interior and/or exterior primer). Let it dry overnight in a well ventilated space. It was during this step that I realized I needed to remove the back panel of the desk - it was fake wood and I knew it wouldn't hold up outside after some rain (shoot!).
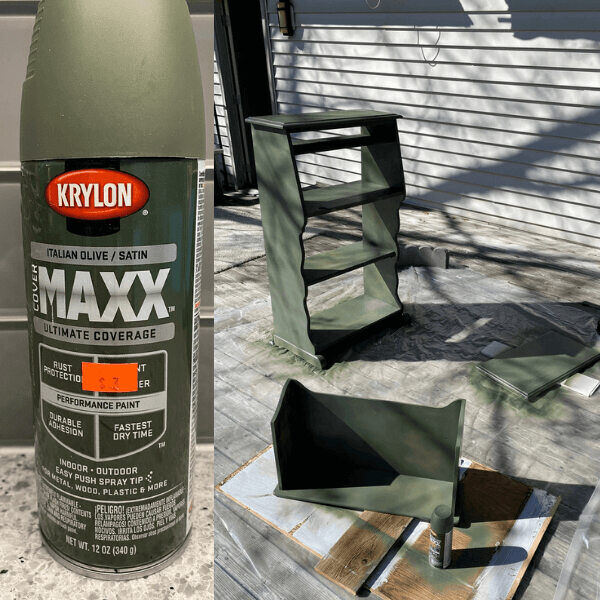
4. Next, I painted all pieces with THREE coats of spray paint, letting each coat dry completely in between. I used an indoor/outdoor spray paint that I found at Restore for $3 a can. I needed about 4 cans total.
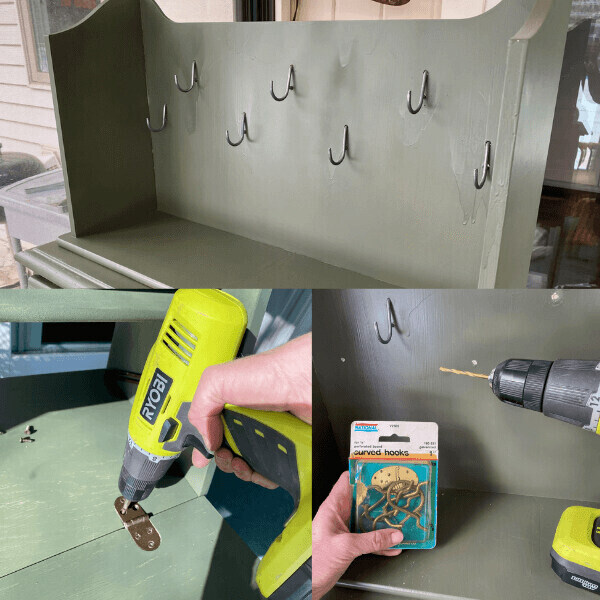
5. Then, I re-assembled the desk door and drilled holes on the top shelf to create a peg board feature using curved hooks I had laying around for years. I have no idea what they were originally purchased for.
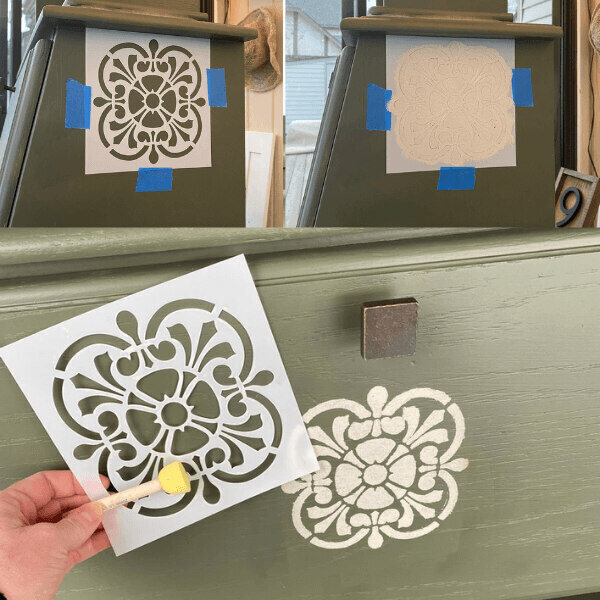
6. For added interest, I stenciled a design on the front door of the desk using an outdoor house paint and a sponge applicator. It took a bit of trial and error to determine just the right amount of stencil to use (noted by the photos). Thankful I had extra spray paint to cover up my trials. Keep it simple.
7. Lastly, I had to secure the top shelf to the rest of the desk using brackets. I could only drill into the desk because the top shelf wasn't thick enough to hide the screw. I added some Gorilla Glue for reinforcement. Have I mentioned how much I love my neighborhood Ace Hardware store!?
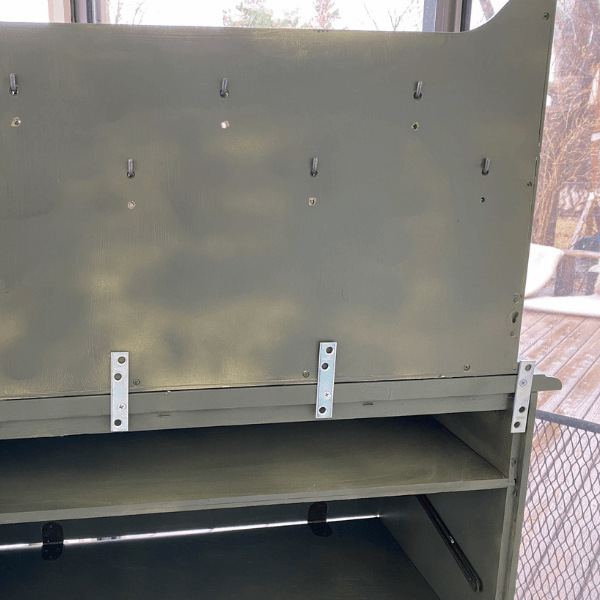
8. I positioned my garden station inside my porch for now. It's the perfect spot to start some seedlings and get the herbs growing in the spring! I'll eventually move it out by the shed in place of our empty wood rack. I'm super happy with the results and thankful for a place to store my supplies and contain the mess! Thank you Restore for the supplies and inspiration! Reducing my carbon footprint one project at a time!

I would love to see (or hear about) your upcycled projects. I've seen some really creative ideas by different people I follow on social media. Feel free to comment below, join me on my own blog, Buzzing Scotch Lass, or connect on Instagram.
Twin Cities Habitat for Humanity Restore is a GREAAAAT place for inspiration and supplies on a budget! Even better, you are re-using something discarded and making it useful again! Win win win!

Your gift unlocks bright futures! Donate now to create, preserve, and promote affordable homeownership in the Twin Cities.

Guest blog by Rae Fleming, an independent blogger and DIYer in Minnesota. Let's have a seat, rest, and catch up! It's been a busy summer for me:...
We've had several upcycle challenges but are thrilled to announce that this next one is for the birds! Unleash your creativity and build a birdhouse...
![DIY Upcycling Ideas with ReStore [VIDEO]](https://restore.tchabitat.org/hubfs/blog/2018%20Blog%20Images/January/DIY%20Decor%20-%20Feature%20Image.jpg)
Looking for a creative outlet that doesn’t break the bank? Maybe during lockdown you busied yourself with remodeling a room (or many) in your home....