 ReStore Staff
Bathroom DIY Plumbing Projects
Hiring a plumber for major work is always a good idea. Sometimes, even seemingly minor plumbing problems may require an expert’s touch to fix. But...

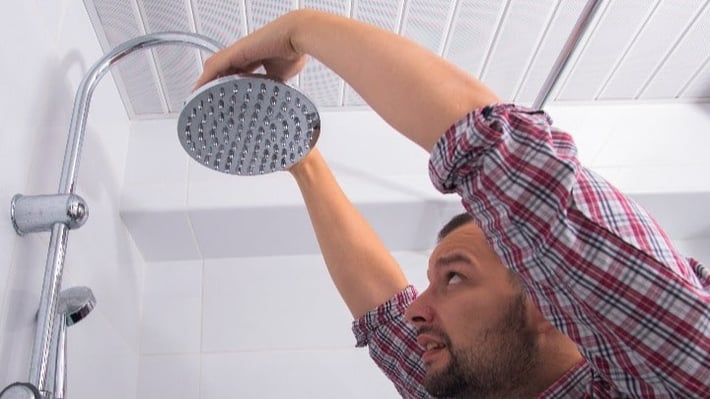
Is replacing a showerhead a do-it-yourself job? Changing a showerhead is one of the easiest repair jobs you can do around the house, requiring practically no previous plumbing experience. That said, if you’re dealing with a serious leak, it’s best to call in a plumber. Leaks or something as seemingly ordinary as running out of hot water could indicate a deeper underlying issue that requires a professional evaluation.
However, if the only reason you haven't changed out your old showerhead is a lack of technical know-how, then here's everything you need to know.
Tools & Materials Needed
Changing a Showerhead in 4 Easy Steps
Ensure your shower is turned off before you begin.
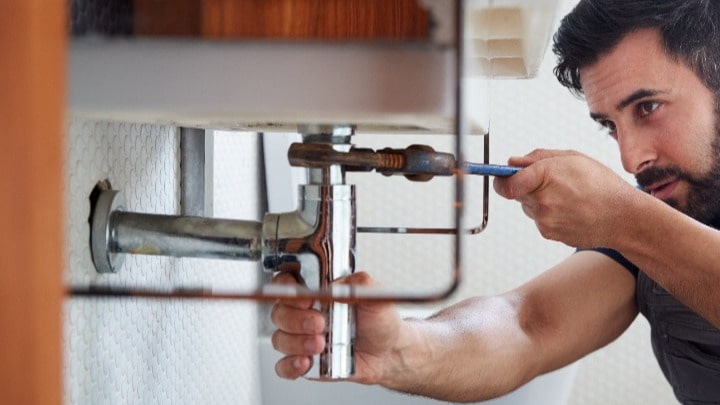
You’ll probably be able to unscrew the old showerhead by hand. But if it’s screwed on too tightly, a pair of slip-joint pliers should do the trick. Just turn the showerhead counterclockwise, using the pliers to provide a steady grip and loosen it completely. Make sure to wrap a rag over the shower arm to protect it from damage as you use the slip-joint pliers.
In some cases, you may need to apply a little more force, which is where the adjustable wrench comes in. Use the slip-joint pliers to grip the arm, clamp the adjustable wrench around the base of the showerhead, and twist it off.
Inspect the old showerhead for any rust or mineral deposits. Clean off any rust, sealant, or tape from the shower arm threads -the opening that connects the shower head to the water source- and clean the rest of the shower arm thoroughly. You might need a wire brush for this, but usually, a cleaning rag will suffice. Most people tend to skip this step, but it's necessary to ensure the longevity of your new showerhead. It also clears a path for better water pressure and cleaner shower water.
Wrap fresh Teflon tape around the threads of the shower arm in a clockwise direction, making sure to press it into the threads. This tape acts as a seal and helps ensure a snag tip.
Now, this step is pretty straightforward, but it will vary depending on the type of showerhead you're installing. Standard wall mount, top mount, and handheld showerheads are fairly easy to install. Attach your new showerhead to the shower arm and screw it in clockwise until it's securely in place. If you're going for a sliding bar showerhead, you may need to bring in a professional, as hollow-wall anchors will be needed to support the bar. Same case if you're looking to add extra features and functions to make your showering experience more pleasurable.
When you’re all finished, turn on your shower and check for any sprays or leaks. If there is a leak, remove the showerhead and re-wrap the threads with tape. Sometimes your showerhead just needs a little extra tightening, and you can achieve this with the help of an adjustable wrench.
Upgrade Your Bathroom Experience Today
Fluctuating water pressure is one of the first warning signs that your showerhead might need an upgrade. It may also be a good idea to change your showerhead to a newer version as they’re typically more efficient, helping you cut down on water bills. Perhaps you just want to add a touch of elegance to your bathroom. If so, you can find showerheads in various finishes and styles at your nearest Habitat ReStore.

Your gift unlocks bright futures! Donate now to create, preserve, and promote affordable homeownership in the Twin Cities.

Hiring a plumber for major work is always a good idea. Sometimes, even seemingly minor plumbing problems may require an expert’s touch to fix. But...
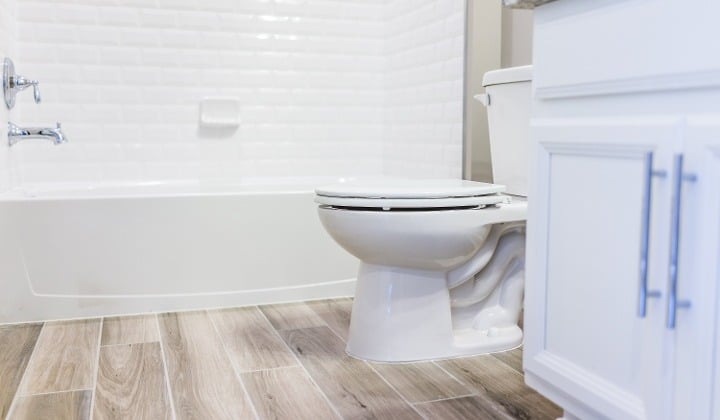
Is your bathroom in need of some sprucing up? Luckily, you don't need to gut your entire bathroom to update it.
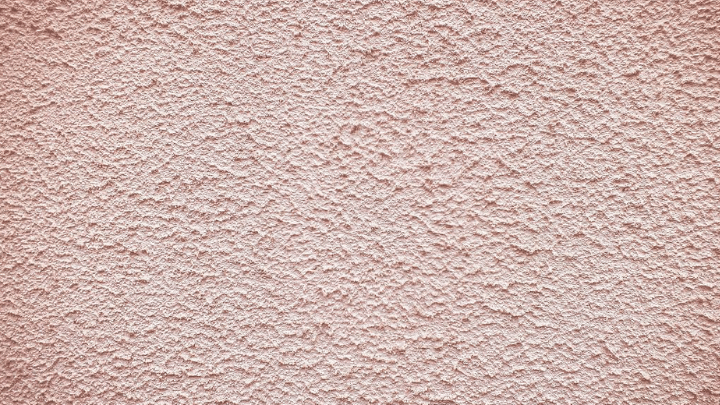
Textured walls have become increasingly popular over the years.