 ReStore Staff
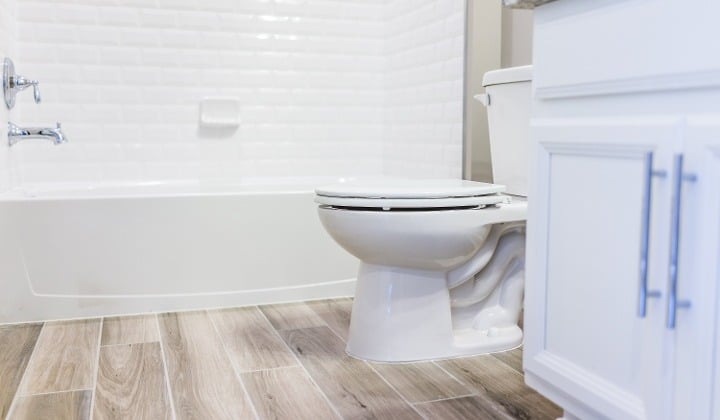
DIY Bathroom Flooring
Is your bathroom in need of some sprucing up? Luckily, you don't need to gut your entire bathroom to update it.

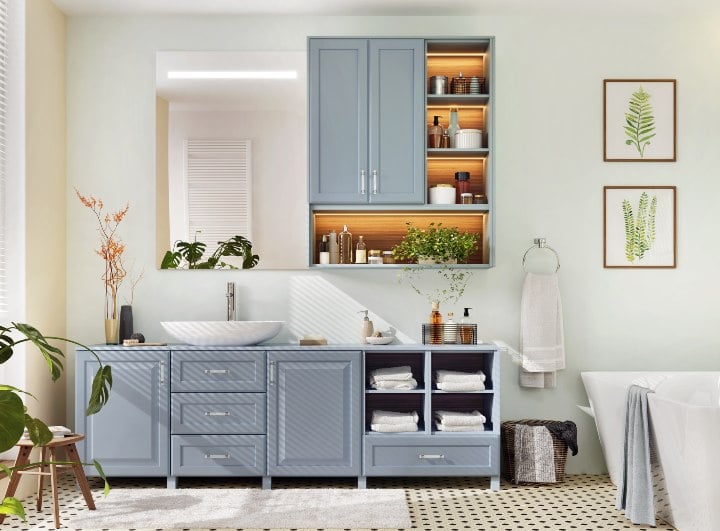
One of the easiest ways to update your bathroom is to replace the vanity, counter-top, sink, and faucets. Today's vanities often come with matching counter surfaces and integrated sinks, making for a great DIY project.
But installing a new bathroom vanity requires you to remove the old one—a process that also involves disconnecting piping and water supply lines.Let’s look at how you can tackle such a project

Tools Required
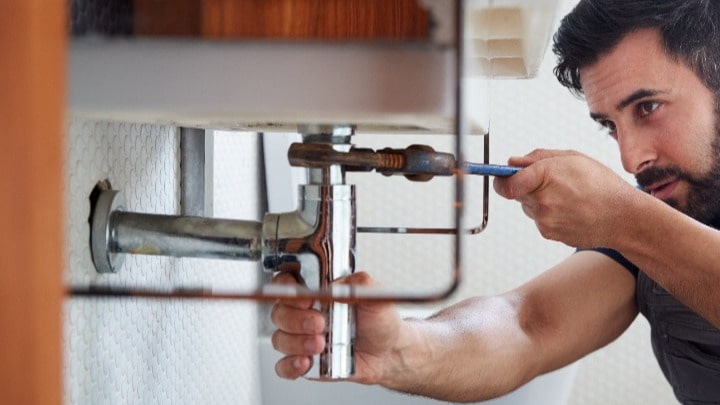
You'll probably need to take the valves off the pipes to remove the vanity. It's a good idea to turn off the water supply to the hot and cold taps of the faucet. Once this is done, open the faucet to release pressure and let the water drain out.
Under the sink, there’s a drain pipe that goes into a curved section that’s called the P-trap. Use a basin wrench to loosen the nuts at the top of the P-trap. This bend might be full of water; empty it into the bucket as you dislodge it from the sink. Stuff a rag into the open pipe leading into the wall to prevent sewer gas from flowing into the room.
First, remove your mirror if it rests on the vanity counter-top or back-splash to prevent it from breaking. Next, detach the vanity top from the walls by cutting the sealer holding it in place using a utility knife. Doing so also prevents you from pulling the plaster off the wall when removing the vanity.
Remove any screws or bolts holding the sink or cabinet to the wall. Pull the vanity out, and repair or repaint sections of the wall damaged in the process. If your vanity is really heavy, it may be easier to remove the sink first, then the counter-top, before pulling the vanity cabinet out.
Mark out the position of your new bathroom vanity. Use an electronic stud finder to locate and mark the studs within the outline of the vanity. If your new vanity has a solid back, make sure to measure out the position of the pipes on the wall and transfer these dimensions to the back of the vanity. This way, you can cut pipe holes of the right size in the right position.
Slide the vanity cabinet into position by lining it up with the marks you made earlier and, when needed, use wood shims to level it. Once the vanity is level, drill pilot holes into the nearest studs and attach with screws.
Some vanities don’t come with an attached counter. If this is the case, you can opt to fasten the vanity top to a cabinet using a thin bead of caulk. Now, let's say your sink is set up separate from the counter-top. Here, you’ll want to attach it to the counter-top way before fitting the counter-top on the vanity.
Plus, you may want to apply caulk where the back-splash meets the wall to remove any gaps between the vanity and the wall.
Connect the water supply lines to the faucet and the sink drain to the drain trap according to manufacturer instructions. Attach the P-trap to the new drain line, tighten the faucet connections and turn the water valves back on.
Finally, check all the connections for leaks.
Pro tip: Inspect the piping to ensure your plumbing supply lines are still in good condition as the P-trap, shut-off valves, and supply lines tend to lose their efficacy over time. If the plumbing is older, now might be a great time to replace it all or give it a tune-up to prevent leaks.
If it's time to give your bathroom a face-lift by changing out the sinks and vanities, you may also be considering additional upgrades. Whether it's a new mirror, hardware, or bathroom lighting, you can find all the materials you need to give your bathroom a makeover at Habitat for Humanity ReStore.

Your gift unlocks bright futures! Donate now to create, preserve, and promote affordable homeownership in the Twin Cities.

Is your bathroom in need of some sprucing up? Luckily, you don't need to gut your entire bathroom to update it.
Hiring a plumber for major work is always a good idea. Sometimes, even seemingly minor plumbing problems may require an expert’s touch to fix. But...
Planning a small bathroom remodel? Changing your medicine cabinet is an easy way to start a bathroom remodel and change how your space feels and...