 ReStore Staff
DIY Bathroom Flooring
Is your bathroom in need of some sprucing up? Luckily, you don't need to gut your entire bathroom to update it.
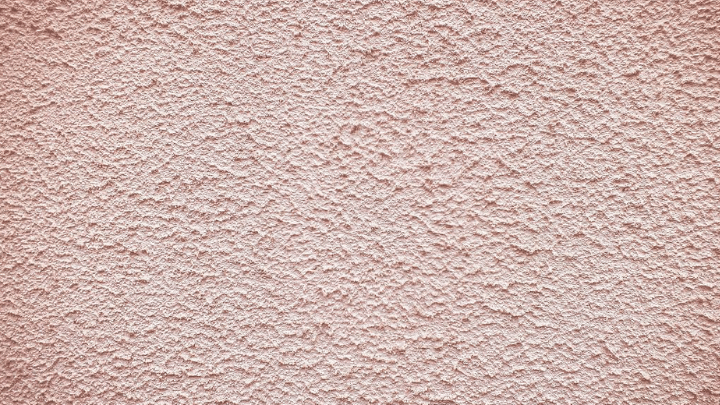
Textured walls have become increasingly popular over the years. They're a cost-effective way of covering up imperfections, and the ridges and swirls can add quite a bit of character to your home.
But as far as design aesthetics go, they aren’t everyone’s cup of tea, and it’s easy to tire of textured walls or want to transform a room by changing the walls. So, what do you do when you find yourself in this situation? The first step involves figuring out whether your walls are painted that way.
Textured walls are created by using drywall mud or using textured paint. Drywall mud is used to simulate a textured finish indoors. It's usually sprayed onto walls using a hopper gun and tends to have the consistency of pancake batter or thick paint. Sand-textured/popcorn-textured paint goes on with a standard paint roller and a brush. It’s an effective way to add wall texture to a very large surface. However, textured paint works similarly to drywall mud but is comparatively more difficult to remove.
You'll need to gather a few tools for this:
Step 1: Taking texture off a wall is a messy job, so it’s crucial to cover the floors with a drop cloth or a piece of material you don’t mind ruining.
Step 2: Spray the wall a few times with water and give it a few minutes of dwell time to soften the drywall. Once it’s softened enough, it’s time to start scraping the drywall.
You'll want to start by testing one area to see how easily the texture comes off.
Step 3: Continue spraying and scraping to the point where you've removed all the texture. Next, sand the wall smooth.
Step 4: After that, apply an oil-based primer all over the wall, let it dry and apply a generous layer of joint compound.
Step 5: After 24 hours, you can apply primer and paint the walls as desired.
Tools to gather:
Step 1: Cover the floor with a canvas drop cloth and apply painter's tape to the window and door trims.
Step 2: Sand the sheen off the specialty high-gloss paint finish and wipe down the walls to remove any dirt and dust.
Step 3: Combine the premixed drywall compound with water according to the manufacturer's instructions and mix it until it's free of lumps.
Step 4: Use the paint roller to apply the mixture to the walls and use enough of it to adequately cover the texture.
Step 5: Smooth the wet texture using the drywall taping knife, start working from the base of the wall, and deftly pull upwards.
Step 6: Let it dry completely before applying a second coat.
Step 7: Afterward, you can sand the completed wall smooth using the sanding sponges.
Whether you have painted or unpainted textured walls, you can always cover your walls with another material—think wallpaper, wood panels, and wall stencils. Covering your walls is a less involved alternative to scraping drywall and skim-coating popcorn paint. There are also plenty of materials to choose from to create your desired aesthetic.
The designs, colors, and walls have the potential to completely transform how your home looks and feels in one go. If you want to transform a room in your home even further, you can try painting your ceilings.
Doing the labor yourself can save significantly on DIY projects. Another way to save big is to shop for the supplies you need at secondhand or thrift stores. You will be able to find almost everything you need to refresh your home at Habitat for Humanity ReStore.

Your gift unlocks bright futures! Donate now to create, preserve, and promote affordable homeownership in the Twin Cities.

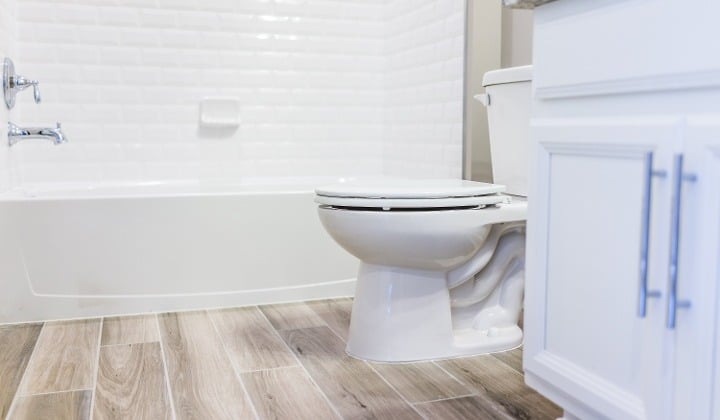
Is your bathroom in need of some sprucing up? Luckily, you don't need to gut your entire bathroom to update it.
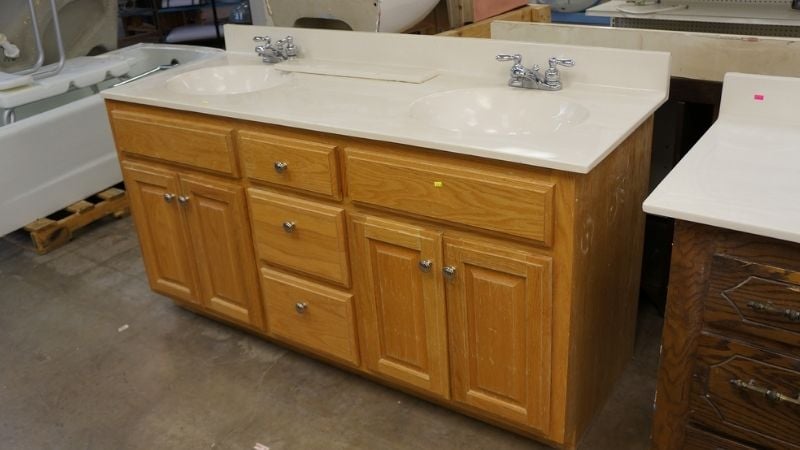
One of the easiest ways to update your bathroom is to replace the vanity, counter-top, sink, and faucets. Today's vanities often come with matching...
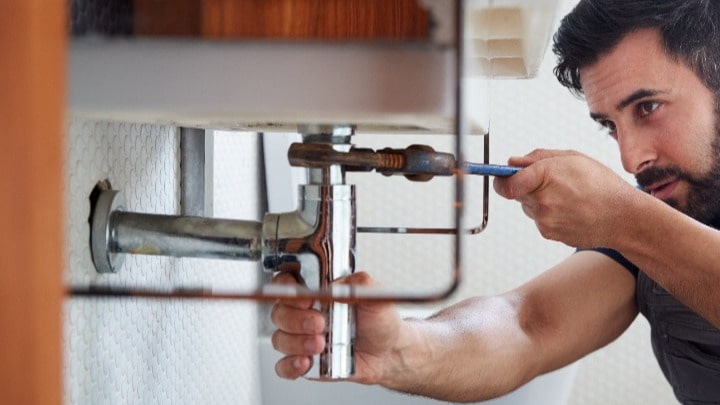
Hiring a plumber for major work is always a good idea. Sometimes, even seemingly minor plumbing problems may require an expert’s touch to fix. But...