 ReStore Staff
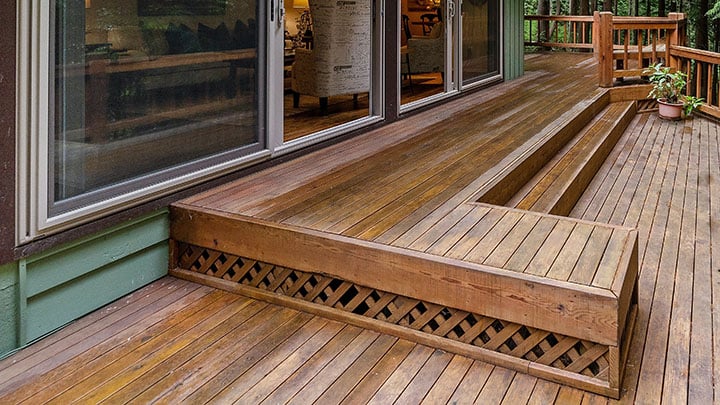
Your Step-by-Step Guide for How to Stain a Deck
Summer's here, the clouds have parted, and the sun is out. Are you thinking about staining your deck or patio? Deck-staining might feel like a big,...
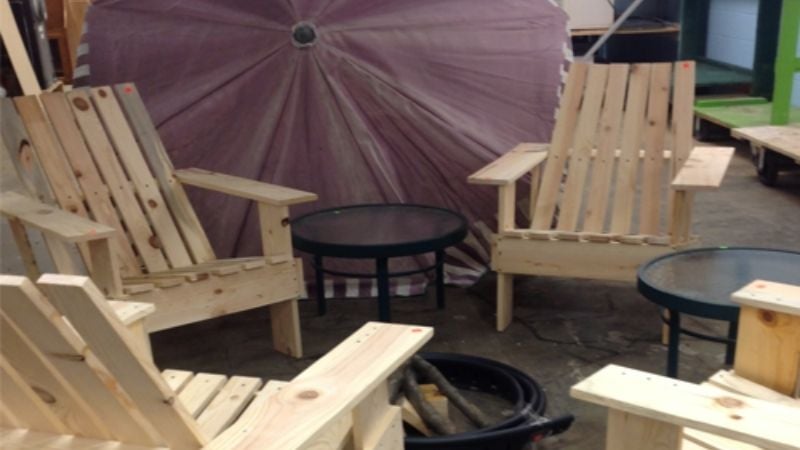
 Spring has finally sprung, and summer is right around the corner! Nothing says summer like a group of friends huddled around a bonfire or a family barbecue in the backyard. And what better way to enjoy time with family and friends than relaxing in an Adirondack chair?! They're popular and comfortable, but most of the time you buy them as untreated wood. If you want your chair to maintain its quality longer, or you want to give it a new look, here's how to paint, stain, or personalize Adirondack chairs.
You'll need a few things to start this project:
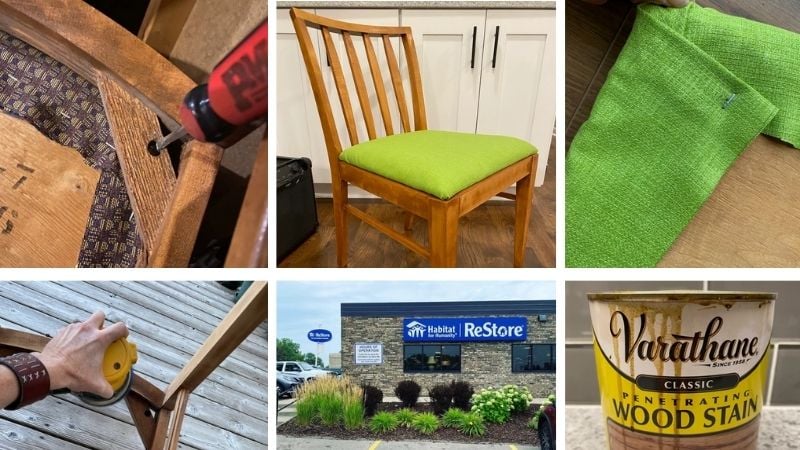
Step One — Sand the chair down using the sand blocks to smooth out the surface. Use the tack cloth to wipe away any sawdust.
Step Two — Using the paintbrush and wood primer, coat the Adirondack chair thoroughly and wipe away any drips with paper towels or a clean cloth. Let it dry completely.
Step Three — Sand the chair again using fine grit sandpaper (the higher the grit number, the finer the sandpaper), and remove any remaining sawdust with a tack cloth. Coat the chair using exterior paint and allow to dry completely.
Step Four — Sand the chair again with fine grit sandpaper and add another coat of exterior paint. Let dry completely.
Step Five — Apply a urethane sealant to the chair with the paintbrush and allow to dry thoroughly. Lightly sand the chair for the third time and apply another layer of sealant. Allow it to dry for at least 24 hours.
You will need:
Step One — Start by sanding any rough edges of the chair with sandpaper.
Step Two — Put on the rubber gloves and safety goggles.
Step Three — Apply wood conditioner to the chair. Let it dry for at least 15-20 minutes before applying the wood stain.
Step Four — Decide on the type of stain you want to use: oil or water-based. Oil-based stains permeate wood better and are perfect for harsh environments because they are so durable. They also provide more even coverage when staining.
Water stains don't emit noxious fumes and are resistant to mildew. They are also eco-friendly and available in more colors than oil stains.
Stains also come in different opacities. Be sure to read the labels when choosing your stain and pick a color that compliments your home's exterior.
Step Five — Apply the stain, going in the same direction as the wood grain. Once you cover the chair completely, you can either wipe off the excess to create a lighter stain or leave it to dry for a darker tone.
Step Six — You'll want to protect your beautiful Adirondack chair with some type of sealant as a finish. If your Adirondack chair will be outside, you should use an oil-based sealant to ensure the stain lasts.
Another way to personalize your new Adirondack chair is to create your own pillow. This is a bit more complicated than staining or painting the chair. But it can be a great way to finish your chair! You can use this detailed video tutorial along with the instructions below to guide you in making a pillow for your Adirondack chair.
You'll need a few materials and tools for this one:
Materials
Tools
Step One — Start by measuring the chair so that you can cut the foam to the correct size for both the seat and back of the chair. Measure the seat of the chair from the back to front and the width of it in the front, between the arms. For the backrest, measure from the highest point at the top of the backrest down to the seat. Your final measurement will be at the widest part of the backrest, horizontally. Be sure to write your measurements down!
Step Two — Mark the foam with the measurements and cut it to size. Remember, measure twice, cut once! After you cut the foam, place it on the chair to ensure that it fits. Then, using a permanent marker, trace the shape of the chair onto the foam, and cut it to size.
Step Three — Measure and cut your fabric to size, adding six inches to the edges to allow for sewing. Remember to cut two plates for each part of the pillow, one for the front and one for the back.
Step Four — Lay the plates with the front sides together and pin the plates in place with fabric pins. Sew three sides of the backrest together and do the same with the seat. Insert the foam through the open side, then sew the opening closed on the backrest and the seat. Now, you're ready to sit back, relax, and enjoy the great outdoors. You've earned it!
If you’d rather not build your own, our ReStore outlets carry Adirondack chairs made by youth volunteers for $35, and the proceeds from the sales support homeownership opportunities for local families! Learn more in our informational blog.
Your gift unlocks bright futures! Donate now to create, preserve, and promote affordable homeownership in the Twin Cities.

Summer's here, the clouds have parted, and the sun is out. Are you thinking about staining your deck or patio? Deck-staining might feel like a big,...
Guest blog by Rae Fleming, an independent blogger and DIYer in Minnesota. Let's have a seat, rest, and catch up! It's been a busy summer for me:...
Did you know most scrap wood leftovers end up in landfills? While wood is biodegradable, most wood used in DIY household projects is chemically...