 ReStore Staff
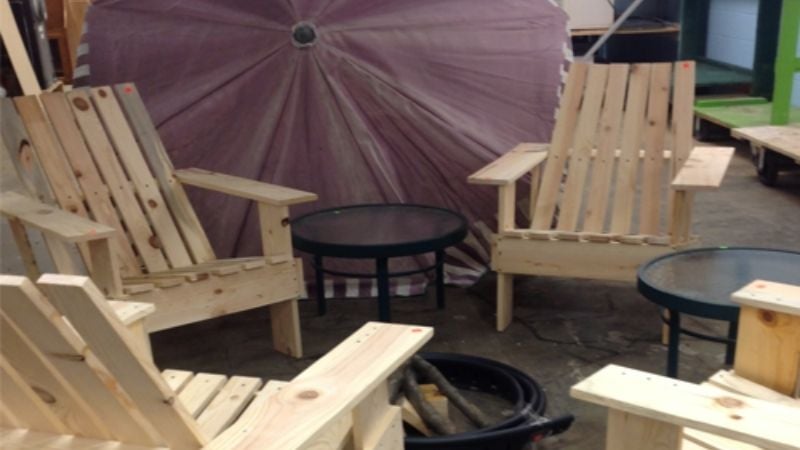
Step-By-Step Guide to Paint, Stain, and Personalize Adirondack Chairs
Spring has finally sprung, and summer is right around the corner! Nothing says summer like a group of friends huddled around a bonfire or a family...
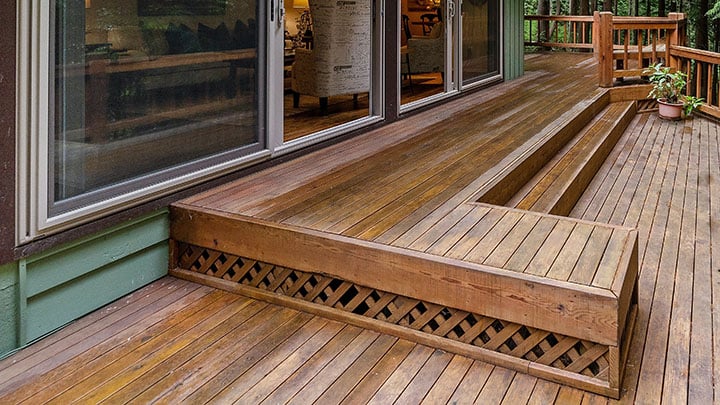
Summer's here, the clouds have parted, and the sun is out. Are you thinking about staining your deck or patio? Deck-staining might feel like a big, ongoing job, but it's necessary. The wood in your favorite summer gathering space will last longer, look nicer, and pop all season long. Here's everything you need to know about how to prep your deck for staining, when to take on the project, and how to ensure a smooth, even finish.
Gather your tools. You'll need a pressure washer, new wood to replace any rotted boards, a wood-staining sponge, plastic gloves, a rag, and some work clothes you don't mind getting a little stained. (You can find most of those things, except for clothes, at ReStore!)
Find out when your deck was built. If your deck was built before 2004, you'll want to have a professional do the work. The wood used in older decks was treated with chromated copper arsenate (CCA), a preservative that protects wood from rot and insects. But when you sand wood before staining, it releases arsenic into the air and groundwater, which is a carcinogen harmful to humans and animals. A professional can properly stain your deck if it was originally treated with CCA.
Check the weather. Pick a few days with no rain and low humidity in the forecast. Temperatures below 80° are optimal.
Block out at least two days. Your deck needs time to dry, both from the initial washing and also from the staining. Letting the wood dry and the stain cure are some of the longest parts of the process, but they are also the most important.
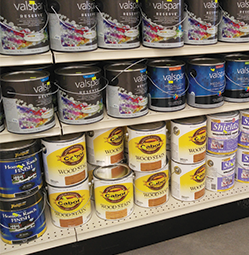
Make sure you have the right stain. Deck stain is about more than color! Opacity (how much grain you want to see), wood type, and climate can all be deciding factors in your choices. Get at least a few gallons – chances are you'll need more than you think, and having extra will help you cover any missed spots.
Consider doing a test run. If you're not sure about your choices or deck-staining skill, buy a board like the ones your deck is made of, cut it into smaller pieces, and get staining! You'll be able to see what stains you like and also practice your skills. Check with ReStore to find out what wood, stains, and tools are in stock.
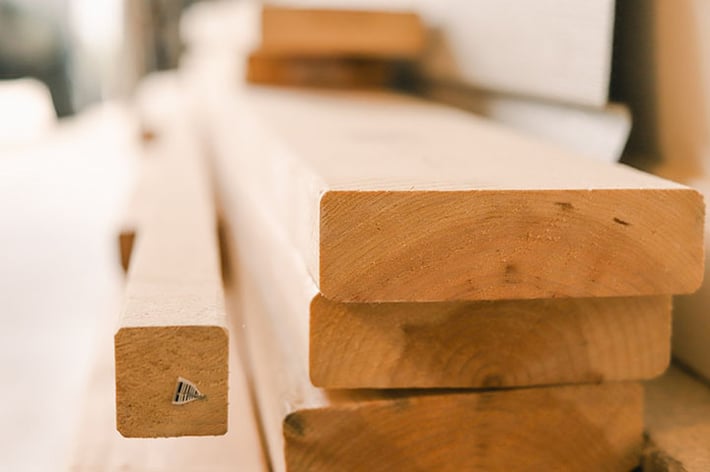
1. Replace any rotted boards. Wood will rot when exposed to moisture, and depending on how old your deck is, you might have extensive rot. Rotted wood can't be stained because it won't hold the stain and it simply won't last as long. To ensure an even coat, texture, and color, buy a style similar to your existing wood. Remember when you’re buying: look for what most lumber stores simply call “deck wood.” They typically have rounded edges and are roughly 1”x6”.
2. Wash your deck with a pressure washer or buy deck wash from ReStore. Everyday use builds up dirt, mildew, and other impurities in the wood. Give it a deep clean to make sure there's nothing between the solid wood and a good, clean stain. Consider deck cleaning and brightening tools to remove even more below-the-surface impurities for the best contact.
3. Give the deck a day to dry out after cleaning. If wood is wet, even a little bit, it's not going to hold onto the stain. Be patient and let the deck dry completely.
 4. Apply two coats of stain with a sponge instead of a roller. A roller can leave heavy spots, resulting in an uneven stain. A sponge applier is also quicker than rolling and doesn't require back-brushing because it holds onto stain more effectively than a roller. If you'd rather use a roller, make sure it has a 1/4-inch or shorter nap on it. This will make it easier to apply the stain in thin layers and avoid pooling. Go slowly, apply in thin coats, and wipe up excess stain with a rag as you go – your patience will be rewarded with a clean, even stain.
Tip: Make sure to use a paint stain if you're covering over an older stain.
5. Give it another day to dry. Most stains can dry in about four hours per 100 feet, but why take the chance? Just plan for another day of drying. The curing process, where the wood really sucks in the stain, will have that much more time to take hold.
6. Plan to do it all again in a few years. Most professionals recommend redoing your deck stain once every other year, but in reality, no stain job will last more than a few years. Plan to re-stain in about three years.
If you need tools and supplies for your deck staining project or DIY home improvement? Visit Twin Cities Habitat for Humanity ReStore – we accept a variety of home improvement products. Still have some leftover materials from your last project? Donate those supplies at one of our ReStore locations in Minneapolis or New Brighton.

Your gift unlocks bright futures! Donate now to create, preserve, and promote affordable homeownership in the Twin Cities.

Spring has finally sprung, and summer is right around the corner! Nothing says summer like a group of friends huddled around a bonfire or a family...
You have some items you no longer need. And you know you're going to donate them to ReStore or another secondhand store. Now what? For some...
Guest blog by Valerie Ruha, professional organizer