 Guest Blogger
Get your DIY on!
Here at Twin Cities Habitat for Humanity ReStore we run into a lot of people building, renovating, and creating all kinds of things. But not everyone...
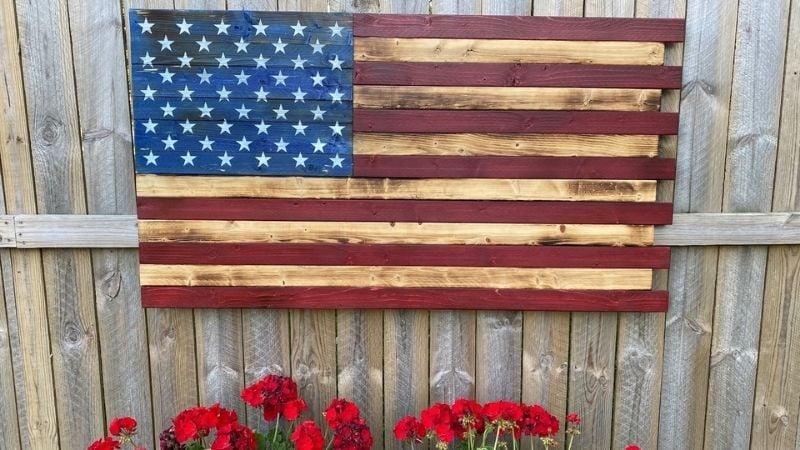
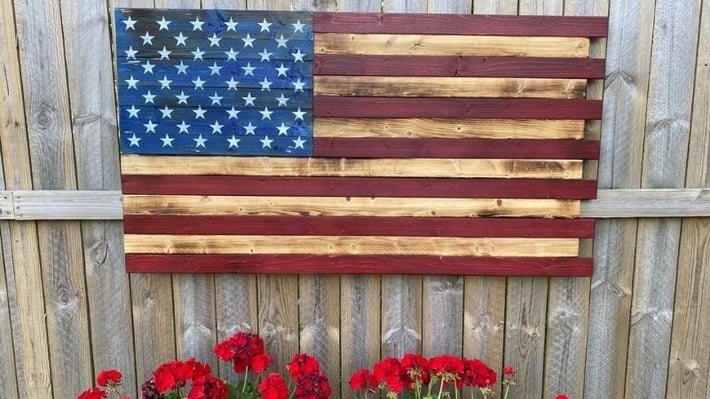
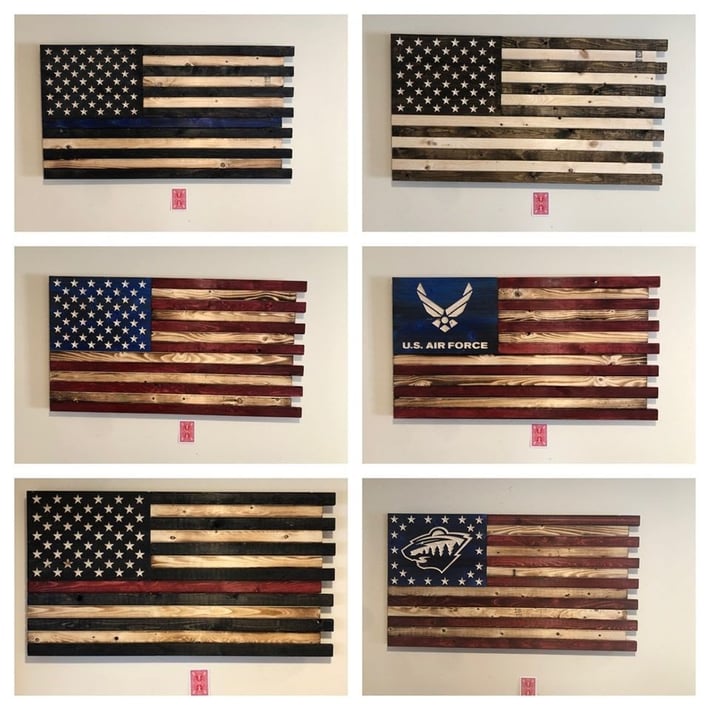
Meet Jake Cisar, a generous craftsman who donated two wonderful wood artworks for our Twin Cities Hard Hat and Black Tie Gala. We were so blown away by his work that we asked if he could share his work and describe the process of creating a wooden American Flag.
Guest blog by Jake Cisar
In honor of Flag Day, which is celebrated on June 14, this is a step-by-step guide to building your own three or five-foot wooden American Flag.
Before you get started, you'll need to assess the materials needed for this project. Below is a list of materials that I use to create the flags.
Lumber
Stripes: Pine, either 1x2s for three foot flags or 1x3s for five foot flags
Union: Edge glued pine
Stain/Paint (Red and Blue)
Stripes: Varathane Barn Red Stain from Home Depot
Union: Blue Tint purchased from Rockler
Adhesive: Loctite Power Grab adhesive from Home Depot
Finish Nails/Screws
Wire (For hanging)
The size of the flag will determine how much lumber you will need to purchase (or shop for at the ReStore).
Five-Foot Flag Dimensions = 60" x 32 1/2"
Red Stripes (1x3s lumber) = 60" and 36"
White Stripes (1x3s lumber) = 58 1/2" and 34 1/2"
Union = 24" x 17 1/2"
Three-Foot Flag Dimensions = 36" x 19 1/4"
Red Stripes (1x2s lumber) = 36" and 21 5/8"
White Stripes (1x2s lumber) = 34 1/2" and 20 1/8"
Union = 14 1/4" x 10 1/2"
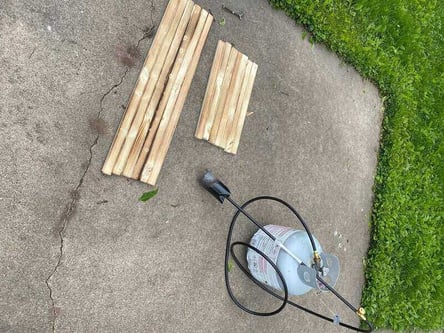
Cut the stripes to length based on the measurements above. If you want the stripes the same length, use the red stripe lengths for the white as well. Next, use a propane torch (if available) to give the wood a light char. This gives it a reclaimed and rustic appearance. I burn all 13 stripes and the union before staining. Make sure to separate the stripes by color to avoid confusion and stain all sides that will be visible once the flag is assembled.
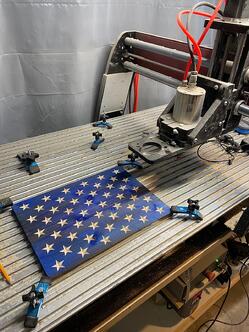
Next, you will need to add the stars to the union. I have a CNC machine in my shop that I use to engrave them. For a DIYer, you can buy star stencils or stickers, paint starts, or engrave them by hand. Time for you to get creative!
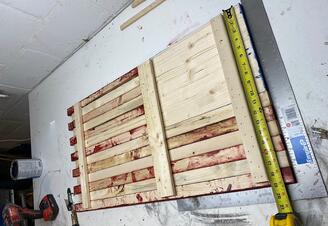
Then, cut the nailing strips for the back of the flag. I use 1x2s for the two outer strips and a 1x3 in the middle. Make sure to check that the flag is square then glue and nail the strips (1" to 1 1/4" nails will work best). As you work your way across make sure the width from top to bottoms stays the same.
Add the screws and wire to the back so you can hang it nicely on your wall. Check it over for any missed spots during staining and touch up as needed. You can also add a semi-gloss clear coat to give it a shiny appearance or an exterior-grade sealer if you intend on hanging the flag outside.
I hope this article was helpful in constructing your own flag. If you'd like to give it a try, feel free to send me photos of any completed flags! I take pride in donating my creations to charity or organizations that support veterans. Please contact me if you have questions or donation opportunities on my Facebook page.

Your gift unlocks bright futures! Donate now to create, preserve, and promote affordable homeownership in the Twin Cities.

Here at Twin Cities Habitat for Humanity ReStore we run into a lot of people building, renovating, and creating all kinds of things. But not everyone...
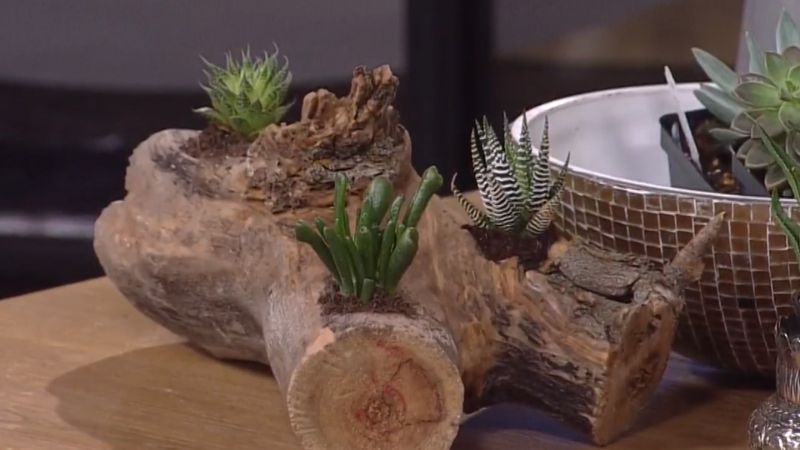
Guest blog by Rae Fleming, an independent blogger and DIY-er in Minnesota.I love to garden, but I hate rummaging around the garage for my supplies....

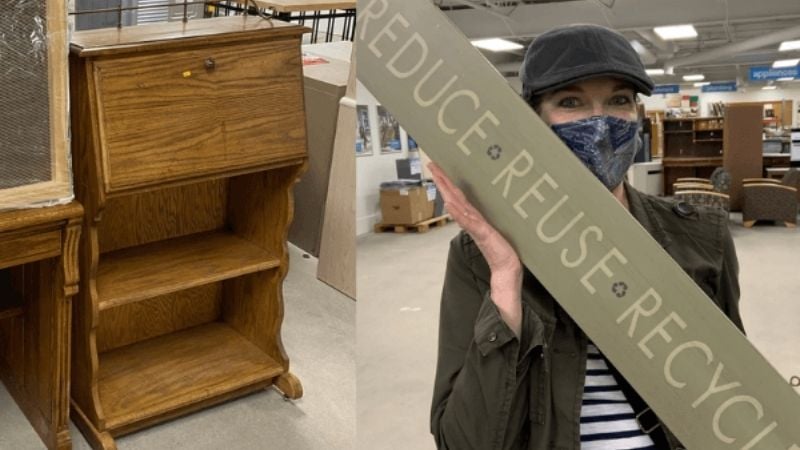
Sadie was a first-time contender in the Freestyle Flip Upcycle Challenge and she won! After a short conversation, it was clear why everyone loved her...