 ReStore Staff
Amy Matthews DIY: How to Install a Door Knob [VIDEO]
If you’ve never installed a door knob before, it can be a bit of a daunting task. But, with a little help from Home Improvement Expert Amy Matthews,...
![Amy Matthews DIY: How to Install an Exterior Door and Door Frame [VIDEO]](https://restore.tchabitat.org/hubfs/blog/2018%20Blog%20Images/July%20/Install%20Ext%20Door%20-%20Feature%20Image.jpg)
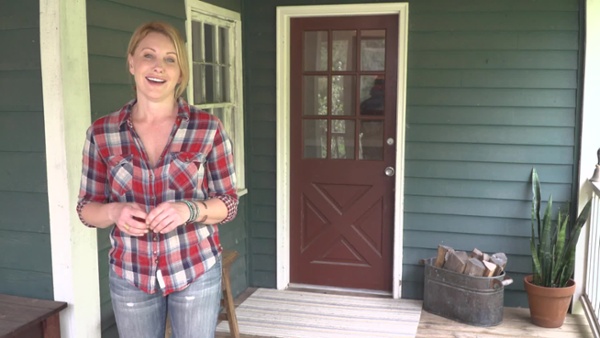
When building a house, one of the most important next-steps after pouring the foundation and constructing the walls, is to install the exterior door. In her DIY video, Home Improvement Expert Amy Matthews walks through the process of installing both a door and its frame into a new wall.
Before you do anything with installation, you’ll want to determine the door swing. That way, you know which way the door will open, and whether the room has enough space to accommodate the swing. You can do this by standing with your back against the hinge side of the door space and swinging your fully extended arm.
Typically, doors swing into a room. Examine the room the door is swinging into, and be careful not to have any light switches covered by the door as you enter the space.
Start the installation by cutting the house rap at the top of the opening. This will help you more easily install the Protecto Wrap. Protecto Wrap seals in your door frame and protects it from weather damage.
Cut Protecto Wrap at the base of the door opening so that it perfectly fits width-wise. Then, cut slits at the corners, and add small squares of protecto wrap to fill the open spaces.
Overlap top pieces over bottom for better protection from water. Finally, use the sticky backing and tacks to make sure the wrapping is tight and secure.
You’ll also add another row of the wrap on the inside edge of the door sill.
First, measure the door opening and the door. The opening should be approximately 1-inch wider than the door.
Be sure to review the manufacturer’s instructions before you install the door. There are typically differences between each door manufacturer — either different tools required or pieces included with the door kit.
Remove all packaging material that came pre-installed on the door. Then, make sure the door sill is level and the door fits snugly in the opening — not too loose, not too tight.
Now, the real work begins. Apply a bead of 100% silicone caulk on the base. Start with the outline of the door, and then fill in the base with a long, snake curve around the frame. Repeat with the top and both sides.
Lift the door frame (with door) into the opening, centering it within the opening. Make sure the door is level, making any adjustments necessary by adding shims between the frame and the opening.
When installing the frame, screw in the hinge-side first. When you’re done, the screws should be hidden nicely by the built-in weather stripping.
Check it with the level again, and use shims to make any necessary adjustments before screwing in the other side.
Once the door is set, add the longer screws (included with the door) to the hinges for added security. Then, it’s a similar process on the doorknob side of the door.
Check whether the door swings and closes properly. Install flashing on the top of the door. On the outside of the house, pull the house wrap over the flashing and seal it with some tape.

Your gift unlocks bright futures! Donate now to create, preserve, and promote affordable homeownership in the Twin Cities.

![Amy Matthews DIY: How to Install a Door Knob [VIDEO]](https://restore.tchabitat.org/hubfs/blog/2018%20Blog%20Images/August/Install%20Door%20Knob%20-%20Feature%20Image.jpg)
If you’ve never installed a door knob before, it can be a bit of a daunting task. But, with a little help from Home Improvement Expert Amy Matthews,...

When you think of repurposing old items, you probably don't think about your interior doors. You might consider repurposing the hardware from the...
![Amy Matthews DIY: How to Install a Window [VIDEO]](https://restore.tchabitat.org/hubfs/blog/2018%20Blog%20Images/July%20/Install%20Windows%20-%20Feature%20Image.jpg)
There are a lot of steps when installing an exterior window. As a Home Improvement Expert, I know that well. That’s why I’ve created a walkthrough to...