 ReStore Staff
Amy Matthews DIY: How to Install an Exterior Door and Door Frame [VIDEO]
When building a house, one of the most important next-steps after pouring the foundation and constructing the walls, is to install the exterior door....
![Amy Matthews DIY: How to Install a Door Knob [VIDEO]](https://restore.tchabitat.org/hubfs/blog/2018%20Blog%20Images/August/Install%20Door%20Knob%20-%20Feature%20Image.jpg)
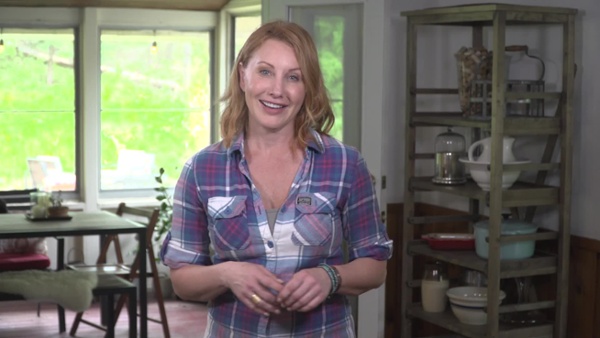
If you’ve never installed a door knob before, it can be a bit of a daunting task. But, with a little help from Home Improvement Expert Amy Matthews, you can do it in no time! Before you start, you’ll want to make sure you have the following tools:
Insert the latch into the side of the door. You should be able to see the latch through the hole where the handle will go.
Then, insert the handle through the latch. Make sure the keyed lock side of the handle is on the outside! Push the two ends of the handle together, clasping them around the latch through the door hole. You’ll need to line up everything just right, otherwise, they won’t fit together.
Once they’re aligned, screw them into place. It’s a good idea to use a phillips head screwdriver, instead of a drill, to hand-tighten the hardware to avoid stripping the screws.
Finally, test the handle to ensure everything is working properly.
Now, you can insert the deadbolt, starting with the backset (this is the actual bolt piece itself). The backset length is adjustable. Just twist it, and it will lengthen or shorten depending on what you need. Make sure it lines up with the middle of the hole.
Once you’ve pushed the backset into the deadbolt hole, make sure the center hole of the backset is facing down, so the lock will fit into it properly.
Insert the lock through the deadbolt and then screw that into place.
Now, you can screw the faceplate into the side of the door and test the deadbolt to see how it’s moving.
The next step is to install the latch faceplate to the door frame. The latch faceplate is the plate surrounding the hole in the frame, where the handle latch will slide into when the door is closed.
Loosely screw it into the frame and test the door to make sure it’s lined up properly. If it is, screw it in tight, and confirm that it all works smoothly.
Finally, if your frame doesn’t already have a previous hole for your deadbolt security faceplate, find the right spot for it based on how the door closes. Outline that area with a pencil.
Then, start chiseling out the excess wood in your penciled-out area, and don’t stop until the plates fit flush into that hole. Install the security plate with the long security screws (this can be done with a power drill). Then, install the faceplate on top of it.
Close your new door, and test the deadbolt.
And that’s it! That’s how we install exterior door hardware on a Habitat home.

Your gift unlocks bright futures! Donate now to create, preserve, and promote affordable homeownership in the Twin Cities.

![Amy Matthews DIY: How to Install an Exterior Door and Door Frame [VIDEO]](https://restore.tchabitat.org/hubfs/blog/2018%20Blog%20Images/July%20/Install%20Ext%20Door%20-%20Feature%20Image.jpg)
When building a house, one of the most important next-steps after pouring the foundation and constructing the walls, is to install the exterior door....

When you think of repurposing old items, you probably don't think about your interior doors. You might consider repurposing the hardware from the...
![Amy Matthews DIY: How to Install a Window [VIDEO]](https://restore.tchabitat.org/hubfs/blog/2018%20Blog%20Images/July%20/Install%20Windows%20-%20Feature%20Image.jpg)
There are a lot of steps when installing an exterior window. As a Home Improvement Expert, I know that well. That’s why I’ve created a walkthrough to...